RStudio — Mac Install and More


Return to Software Installation
This page is based on the installation of RStudio on a Mac computer using the Firefox web browser. The process took place on August 20, 2018. The standard version of RStudio at that time was 1.1.456. Please understand that web pages change, software changes, and installation systems change. Thus, what is recorded here, although true at the moment of recording, may have changed by the time you read this.

Also, as I hope is obvious, the some of the images below have been annotated, in GREEN, to show you where you need to point and click.

Just a few quick notes:

  1. Figures 5 and 6 only show up the first time you run RStudio on particular Mac.
  2. The Figures 8 and beyond walk through a small demonstration of why we want to use an IDE (Integrated Development Environment) such as RStudio.
  3. Many of the Figures have been shrunk to facilitate display and printing. This does compromise the readability of the images, but the images are really just there to verify and explain what you should be seeing on your screen. On a Mac you can see the actual image by pointing to the shrunken image, holding down the Option key and then click on the image.
  4. This material has not been formatted for printing so if you do print it you will get a lot of blank space and the Figure numbers may be separated from the images by page breaks.
  5. Most important, I am not a Mac user. Therefore, although the steps shown here work there may be shorter, more efficient ways to accomplish the same thing. Feel free to use any such shortcut open to you.

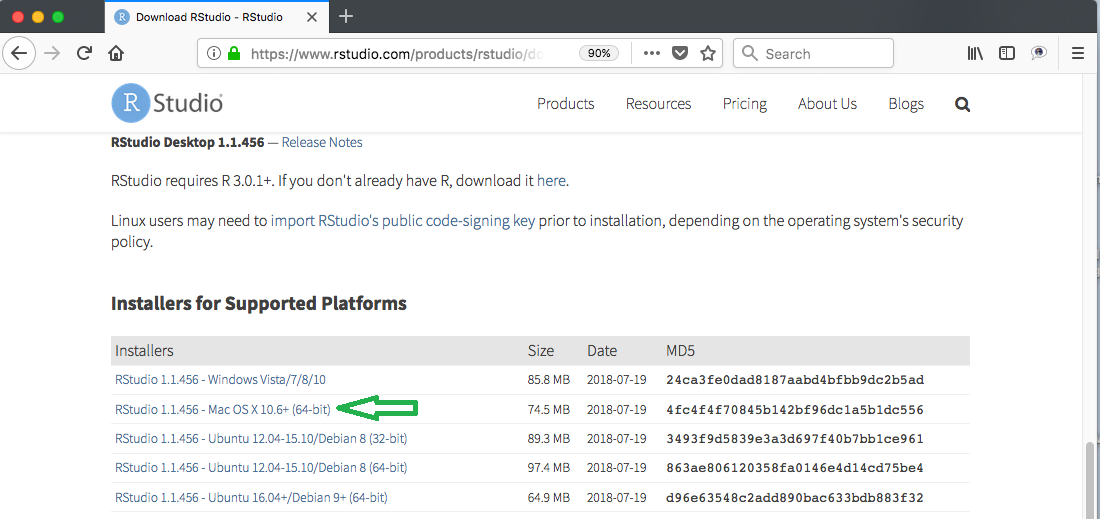
To install RStudio, we will go to the RStudio web site at the https://www.rstudio.com/products/rstudio/download/#download web site. This should open a page which should appear as shown in Figure 1. Then in the list on the left locate the Mac OS X 10.6+ (64-bit) item and click on it.

Figure 1

That will cause the file to download to your computer, after which the following screen should appear. Accept the default setting and just click on the OK button.

Figure 2

That will bring up a screen similar to that shown in Figure 3. Click and hold on the RStudio icon and drag it to the Applications folder on the screen.

Figure 3

Once you have done the "drag and drop", double click on the Applications folder to open the screen shown in Figure 4. [You could also to this via the Finder application.]

We could open RStudio by clicking on the RStudio entry in the Applications window.

Figure 4

Alternatively, we could click and hold the mouse key on the RStudio entry in the Applications window and then drag that item to the desktop and drop it there. This second approach has been done in Figure 4a, giving us a RStudio icon on the desktop.

Figure 4a

Then, to start RStudio we merely need to double click on the RStudio desktop icon. Either way, at this point we want to start RStudio.

The small screen shown in Figure 5 should show up and then disappear. This should only happen the first time you start RStudio.

Figure 5

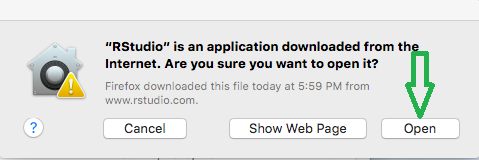
After that you should get another screen, shown in Figure 6, that only shows up the first time you run RStudio. For this screen you click on the Open button to move forward.

Figure 6

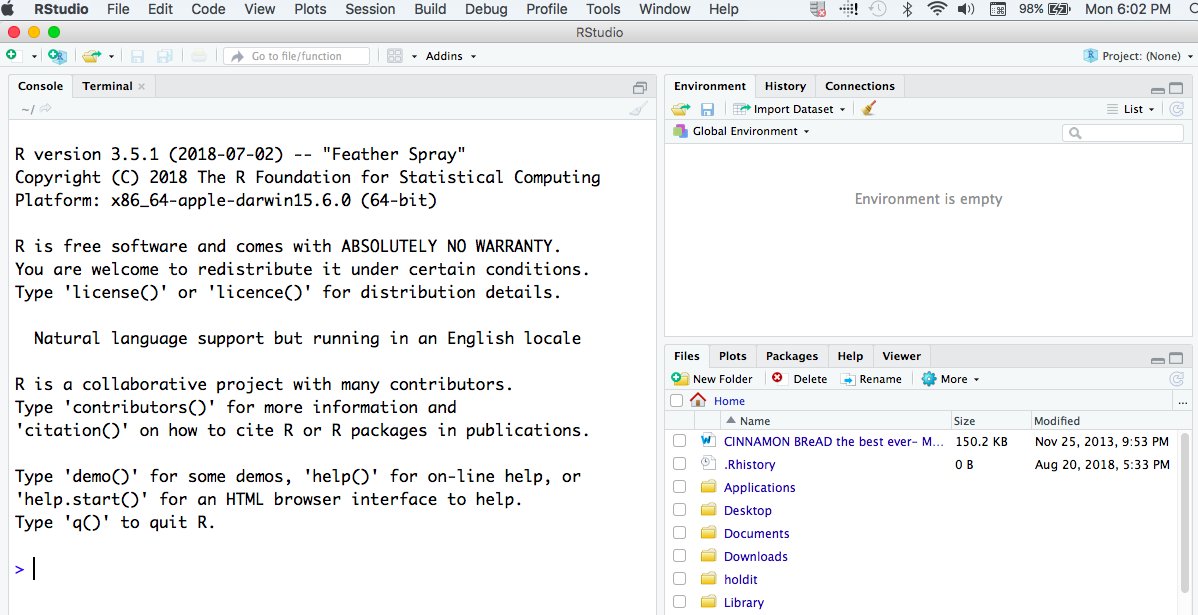
RStudio starts with a screen similar to that shown in Figure 7. There are three panes in this window, the Console, the Environment (which has a History tab), and the File (which also has tabs for Plots, Packages, Help, and Viewer) panes.

The Console pane is really an R session. What you see is the splash screen from the start of R.

Figure 7

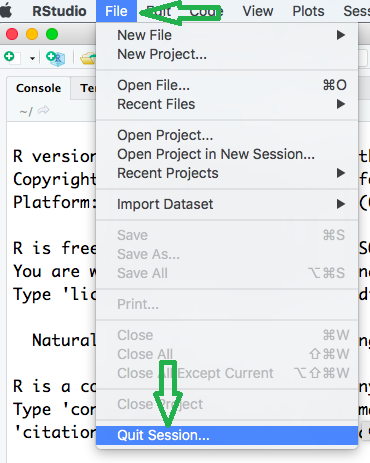
All that we wanted to do here was to make sure that RStudio is installed and working. A different page will walk through the steps that we will use in the class to actually do work in RStudio. For now, we will just close the session. To do that, clisk on the File menu option to open the window shown in Figure 9.

Figure 8

Then click on the Quit Session... option and the RStudio program closes.

Return to Software Installation

©Roger M. Palay     Saline, MI 48176     August, 2017