model.R,
renaming the file, and then starting RStudio from there. The actual steps to
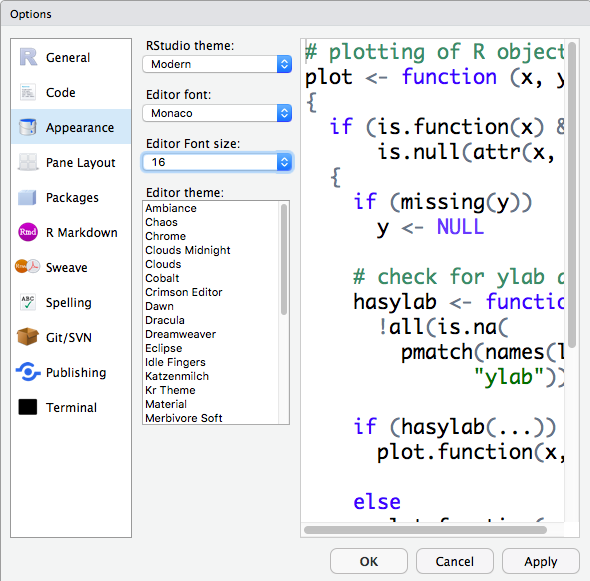
change the RStudio font size start in the text
above Figure 18. If you are comfortable with the
preliminary steps feel free to jump to
that text directly.
| The images shown here are, in general, reduced for display. In order to see a larger version of the image you should be able to point to image image, right click on that image, and then select the option to view the image in a separate window or tab. |
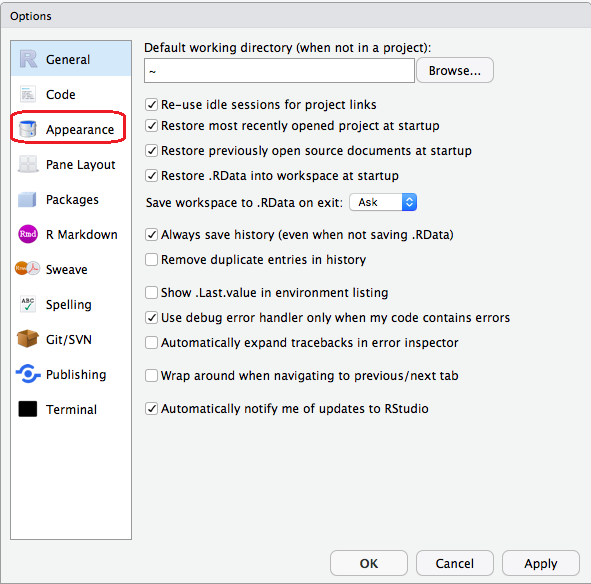
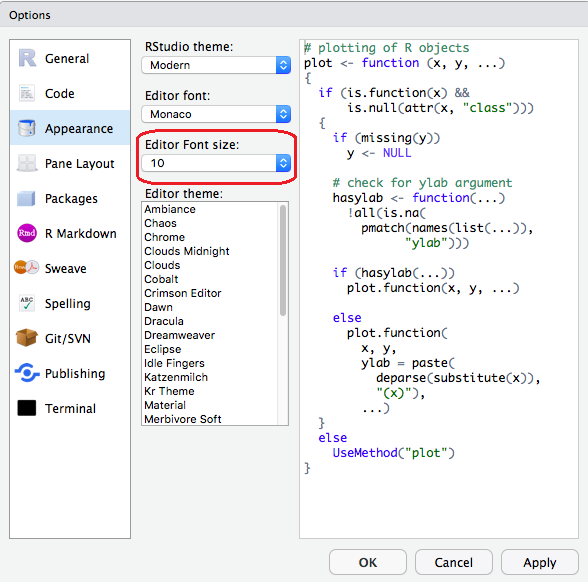
 highlighted in Figure 2.
This opens the options box shown in
Figure 3.
highlighted in Figure 2.
This opens the options box shown in
Figure 3.

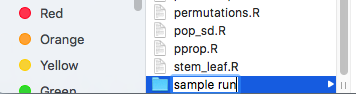
sample run by typing that name,
as is shown in Figure 5.
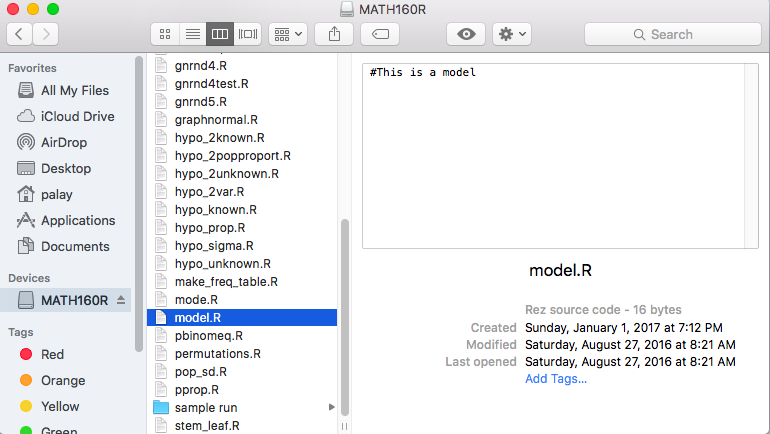
model.R from our
USB drive and to put that copy into our newly created folder, now called
sample run. In Figure 6
we have "clicked once on"
the file model.R.
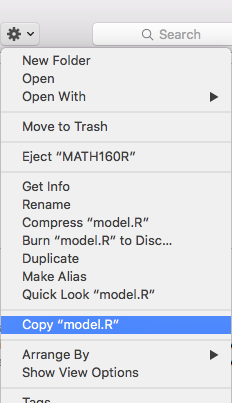
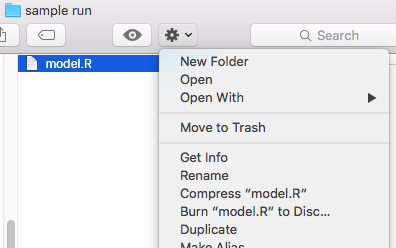
 ,
to view the options box shown in Figure 7.
,
to view the options box shown in Figure 7.
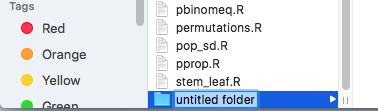
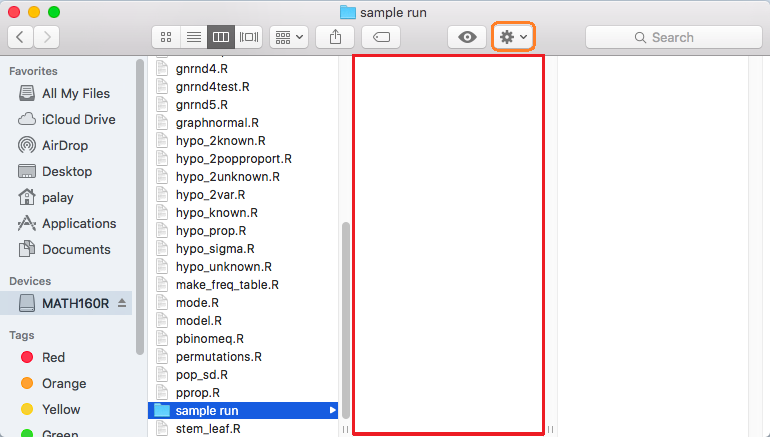
sample run, and click on
that to open the new folder.
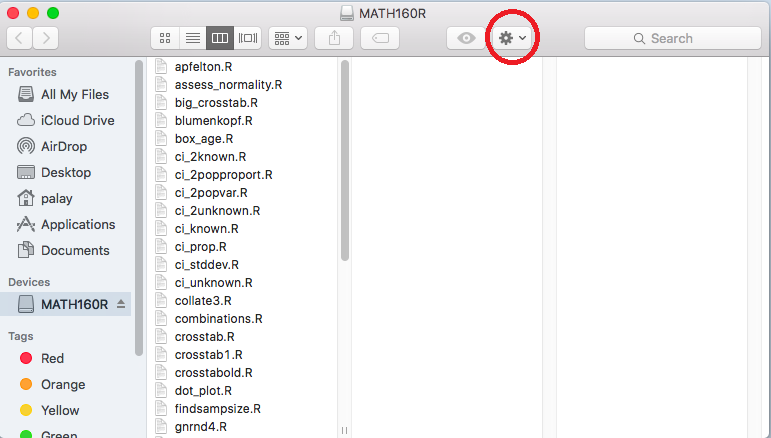
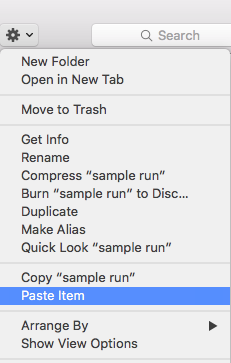
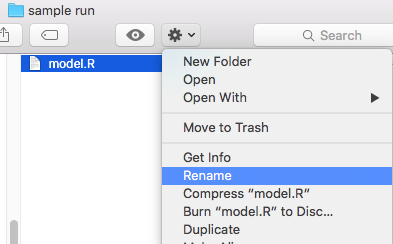
 , highighted in
orange in Figure 8, to open the options box
shown in Figure 9.
, highighted in
orange in Figure 8, to open the options box
shown in Figure 9.
model.R into this folder.
The result is shown in Figure 10.

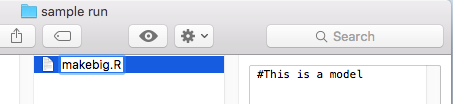
makebig.R
as shown in Figure 13.
.R
need to be opened with RStudio). Therefore,
in this case, we will use the tools options to start
the program.
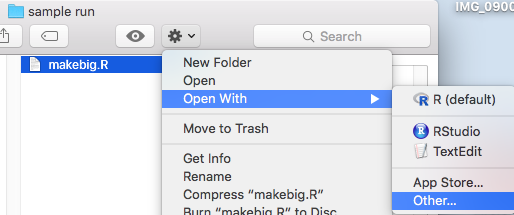
makebig.R highlighted
we click on the tools icon. This opens the
options box shown in Figure 14.
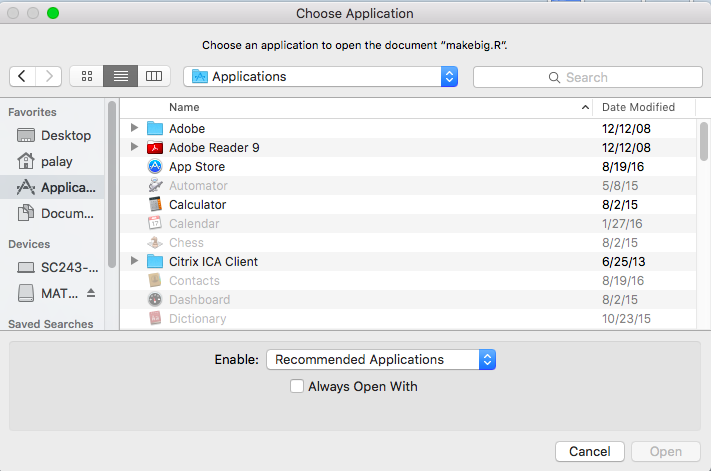
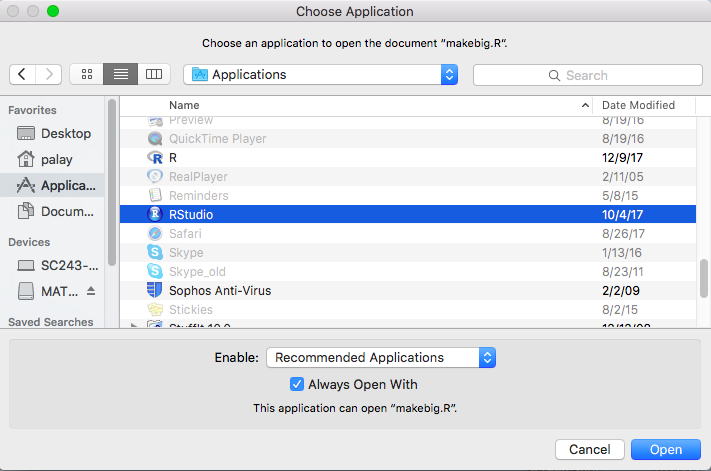
.R.
We check that box and the window should appear as in
Figure 16.
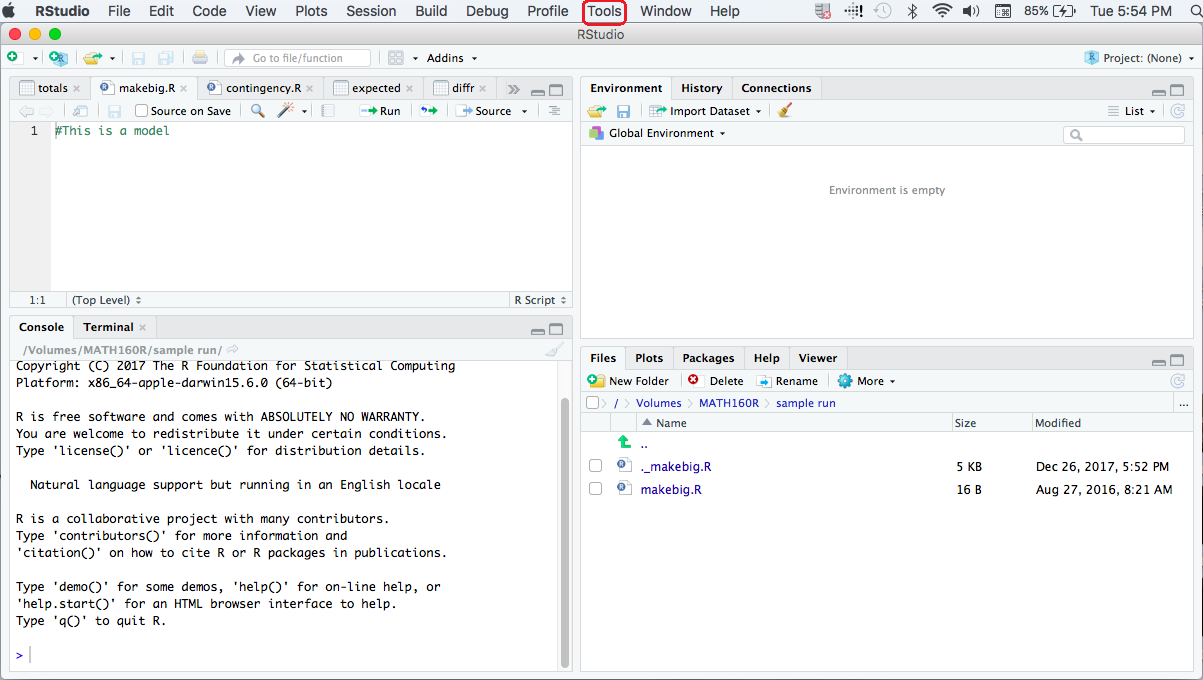
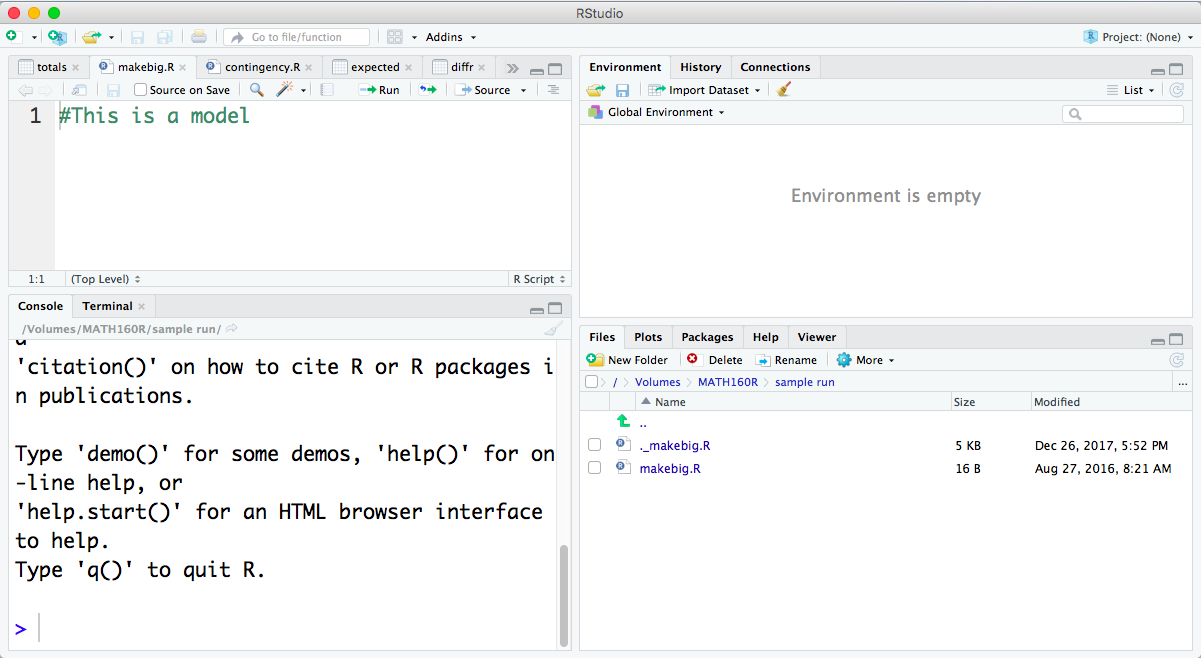
makebig.R loaded
into the editor pane.
Our screen should now appear as in Figure 17.
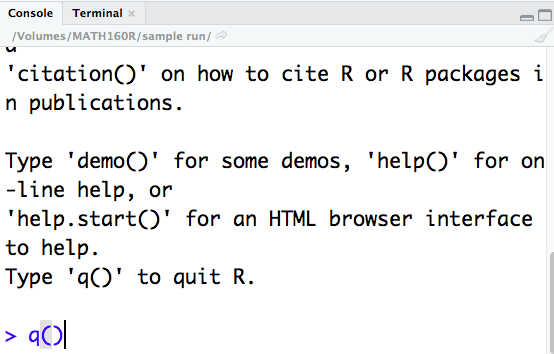
q() in
the console pane, as shown in Figure 24,
and then press the ENTER key on the computer keyboard.
[You might note that since we did not do any R work and since we did not
change anything in the editor pane, oin this case R does not ask for
a confirmation to exit our session.]