3 x 2 matrix. In order to add another matrix
to it we need that other matrix to be a 3 x 2 matrix.
Therefore, we need to create a 3 x 2 matrix matrix
where every element of that matrix has the value 0.
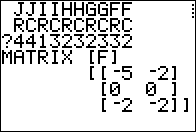
Unfortunately, the TI-83/84 calculators have exactly ten (10) matrices.
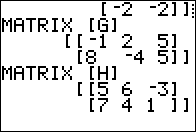
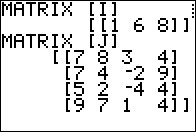
The GNRNDM program that we ran filled all of those.
We will convert [A] to be the desired
3 x 2 matrix zero matrix.
Our first step is to change the dimensions of [A]. We start to form the command to do that via the keys


 as shown in Figure 01. This is a "list" that holds the desired dimensions for our matrix.
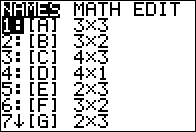
dim( code.
First we use 
 to open the Matrix window.
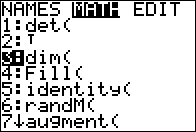
 to move the highlight to the MATH option, shown in Figure 03
after we have used
  to put the highlight on the desired choice.
At that point we can press
  to move to Figure 04.
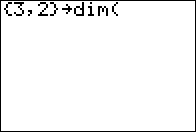

 (this was shown in Figure 02
where we note that the desired matrix, [A], is the highlighted one)
and then use
  to select the [A] name.
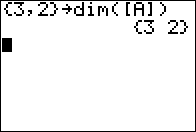
 and press
  to have the calculator process the command.
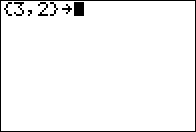
The only result that the calculator displays is to echo the list
 {3,2}
as shown in Figure 05.
The command that we just executed merely changed the dimensions of [A]. Since we had values in the matrix before, the new version of [A] will retain those values as if we had just cut off the last column. (Note that had we expanded the matrix the new positions would have held the value
0.)
0
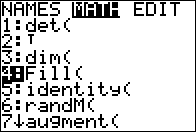
we want to use the Fill( command. We find that in the
Matrix menu under the MATH option. As shown in Figure 06, it is the fourth option.
Once we have moved the
highlight to that option,press  to paste it to the main screen.
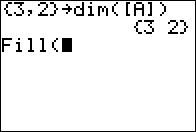
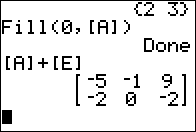
0
and the name of the matrix to use, [A].
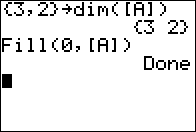
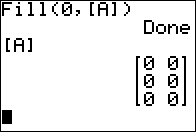
 ,
.the calculator displays the contents of [A]
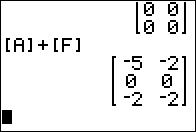
3 x 2 matrix plus another
3 x 2 matrix results in a matrix identical to
the original second addend. Just as with numbers 0+4=4
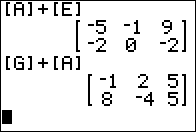
so with our zero matrix we have [A]+[F]=[F].
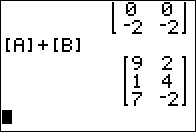
3 x 2 matrix as in
[A]+[B] as shown in Figure 11.
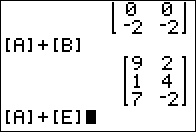
2 x 3 matrix
we expect to run into trouble. Figure 12 shows that command.
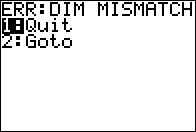
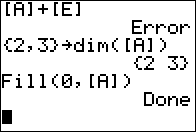
2 x 3
matrix and then to fill that matrix with 0's.
