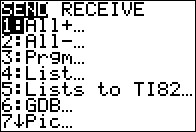

 to open the screen shown in Figure 1.
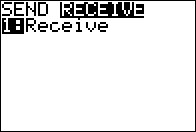
 key to move the highlight to the RECEIVE field.
Then press
  to shift the calculator into receive mode.
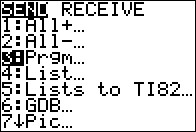

 to open the screen shown in Figure 4. Then, use the
 key to move the highlight to the third option,
3: Prgm..., again as shown in Figure 4.
Press  to move to Figure 5.
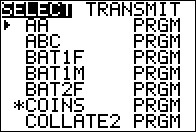
For the purpose of this demonstration we will transfer the COLLATE2 program from the sending machine to the receiving machine. To do this we must first move the highlight down to the COLLATE2 program.
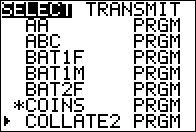
 key to move the highlight to the desired COLLATE2 item.
Unlike other selections on the TI calculator, just highlighting the desired program is not enough. We must mark that
program for transfer. As shown in Figure 6, COLLATE2 is not yet marked. We press
 to mark the highlighted program and the marking will appear as in Figure 7.
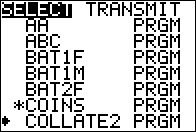
 key, with that new display shown in Figure 8.
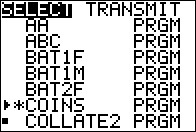
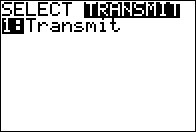
 key to highlight the TRANSMIT option, as shown in Figure 9.
At this point we have
- connected the two calculators via the appropriate cable
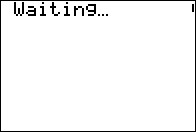
- put the receiving calculator into a Waiting... state
- marked the programs to be transferred
- highlighted the TRANSMIT option on the sending calculator
 key.
The transfer starts, and if there are no problems it completes.
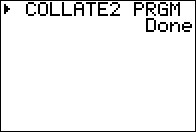
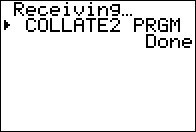
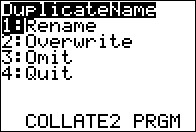 |
Figure 12 shows the message that would appear on the receiving calculator if the program we are sending, in this case COLLATE2, is already on the receiving calculator. This is exactly the case that we would have if we had messed up that program on the receiving calculator and we wanted to "reinstall" the program from the sending calculator. In such a situation, we want to Overwrite the existing but broken program on the receiving calculator. |
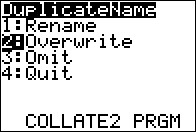 |
To do this we use the  key to move the highlight to Overwrite.
Then we press key to move the highlight to Overwrite.
Then we press  to perform that Overwrite to perform that Overwrite
|
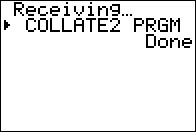 |
The receiving calculator then continues the process and merely indicates that the version of the
program has been received.
|
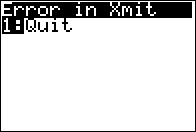 |
Another common experience is to get the screen message shown in Figure 15. The process has failed. You will need to start the process over once you have fixed the cause of the error. Almost always, the cause of the error is that the cable being used is not firmly inserted into one calculator or the other. This is especially common with the old style "plug" cable; it is less often a problem with the mini-usb cable. |
©Roger M. Palay
Saline, MI 48176
January, 2014